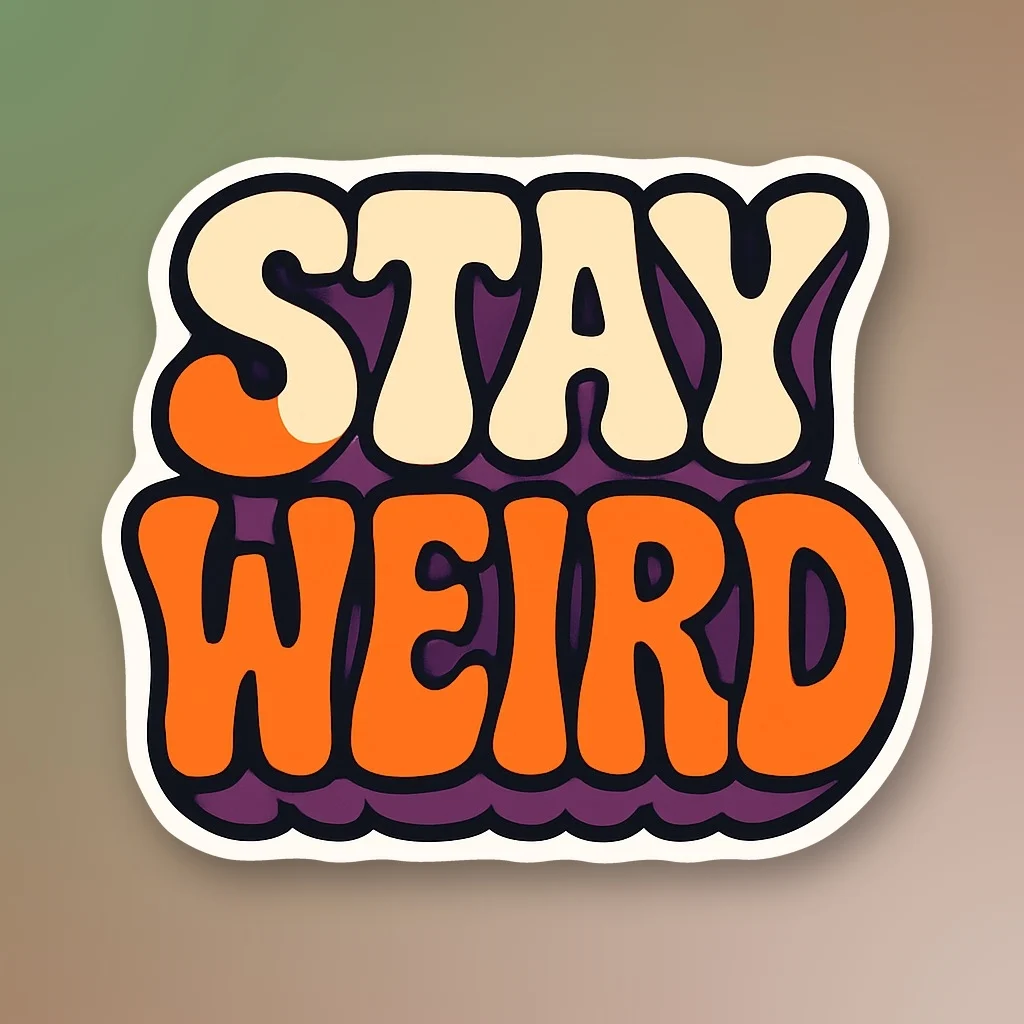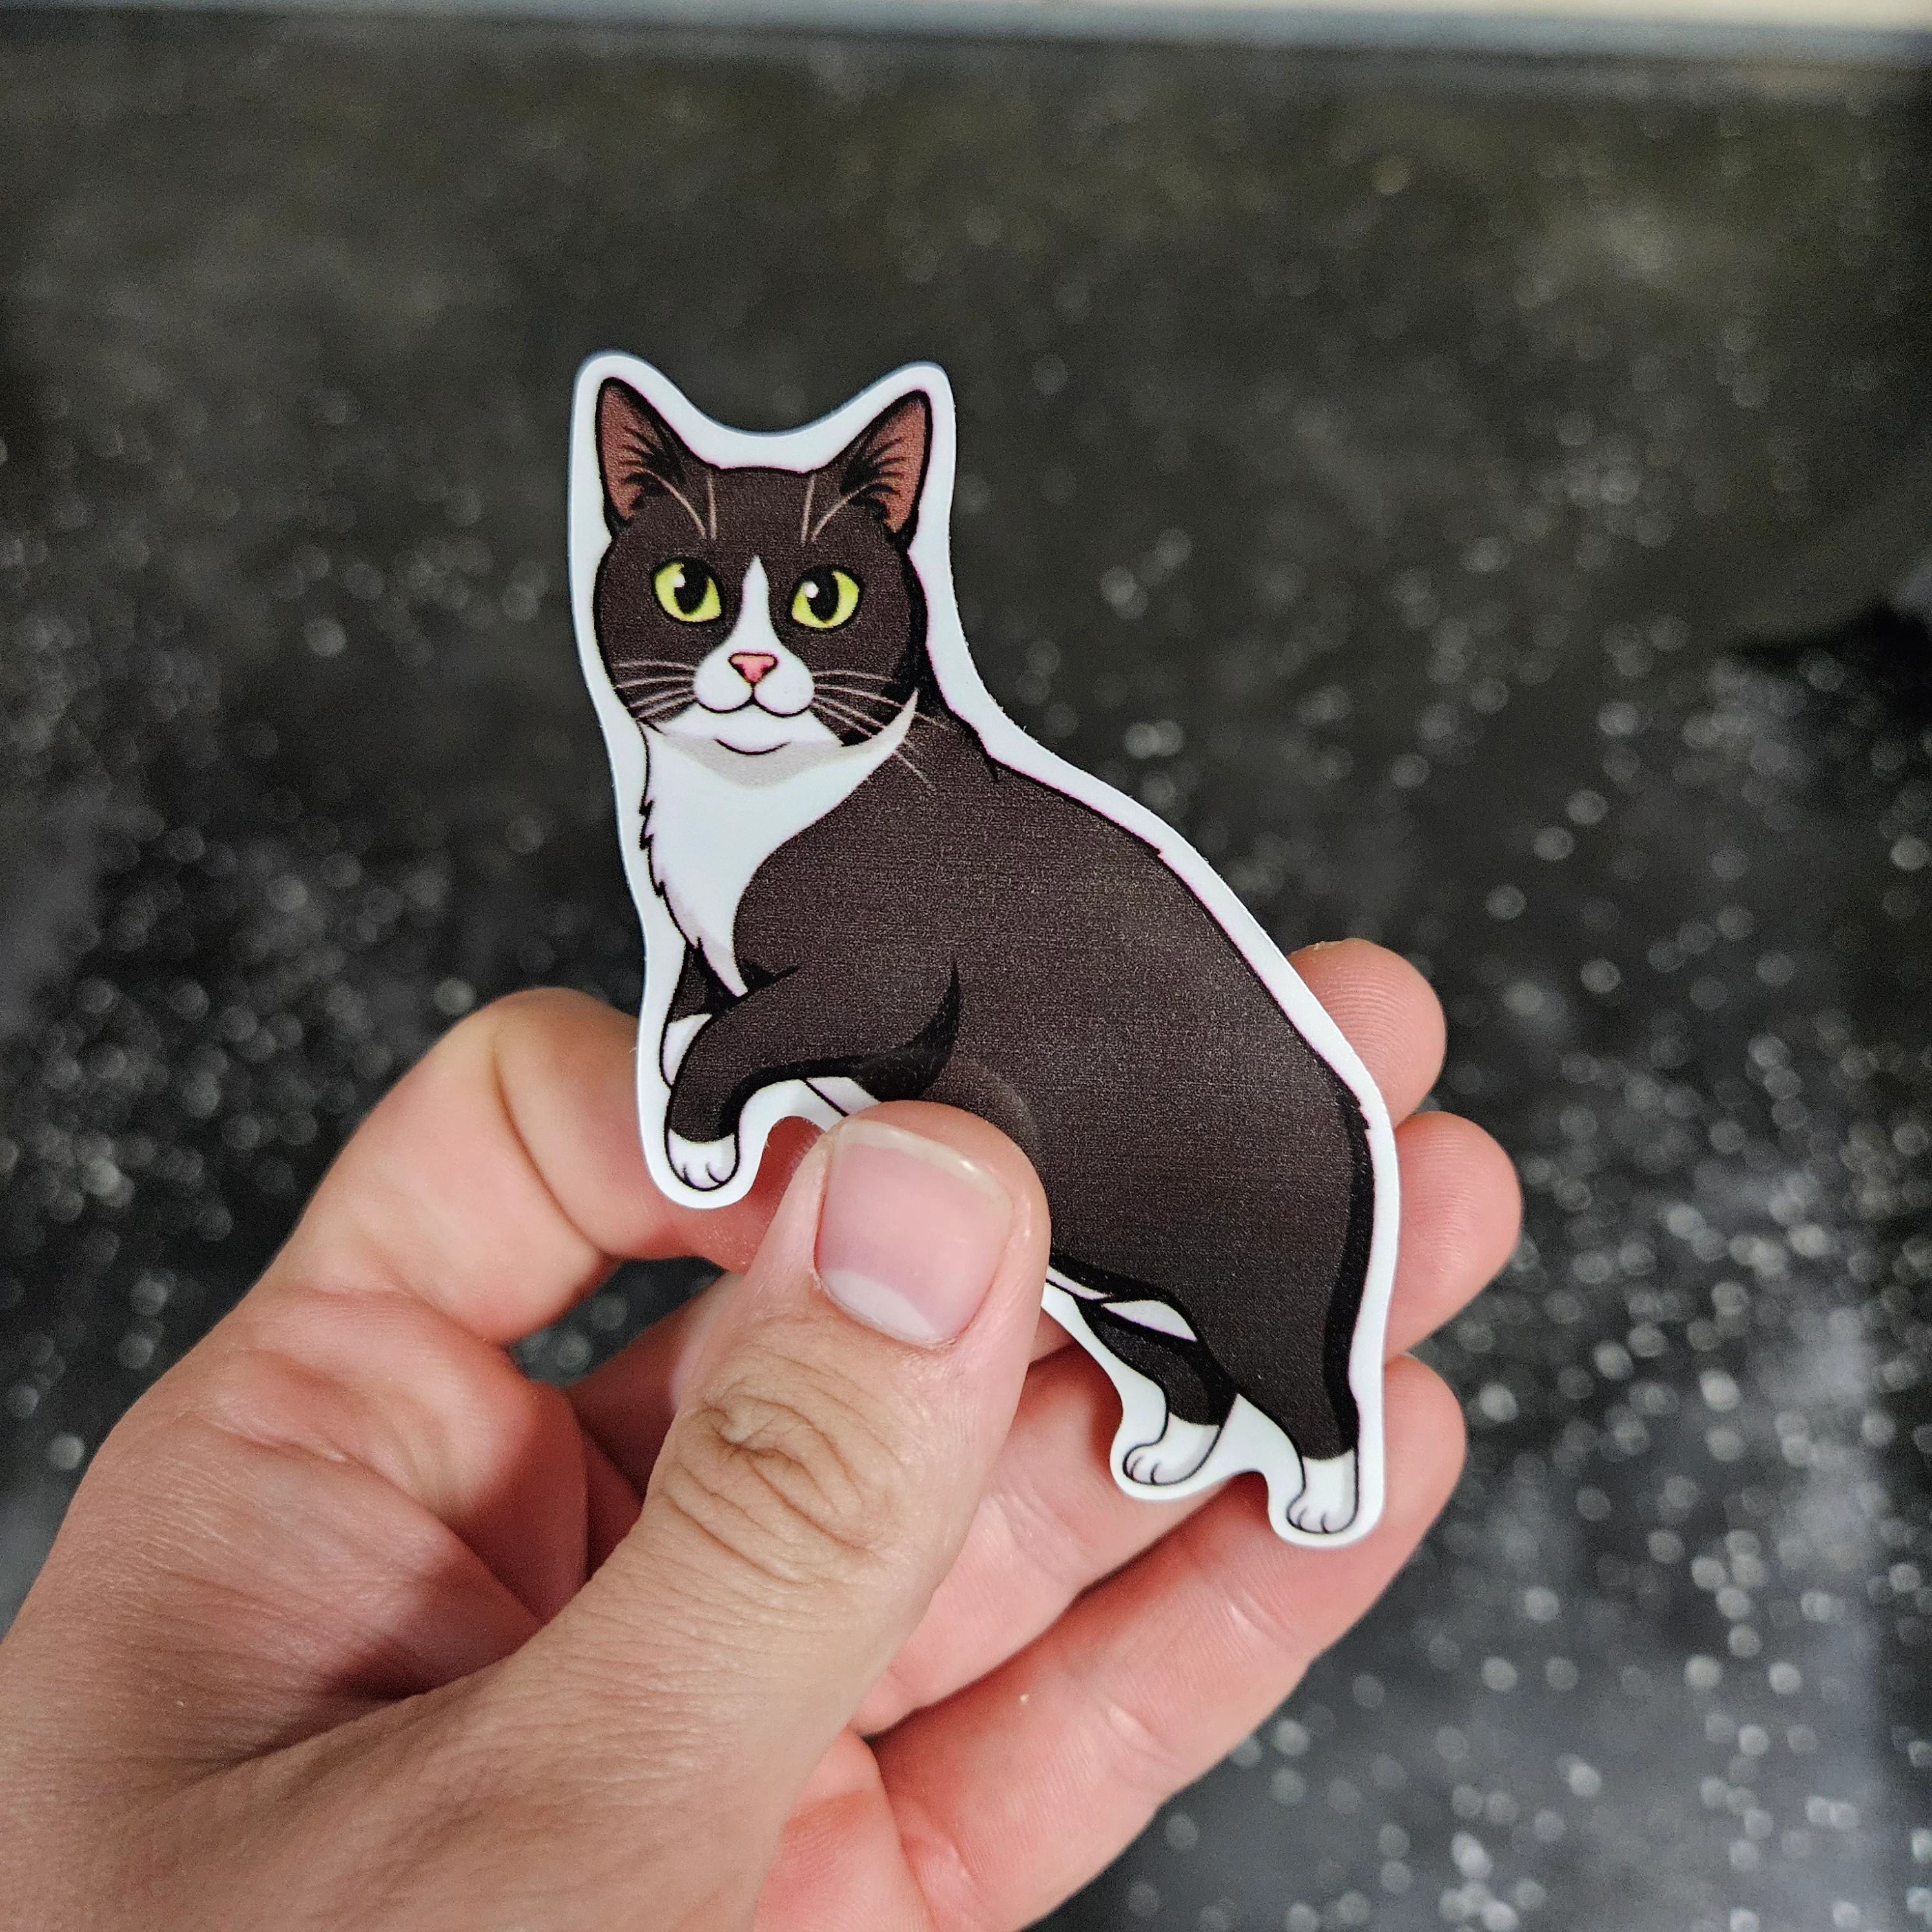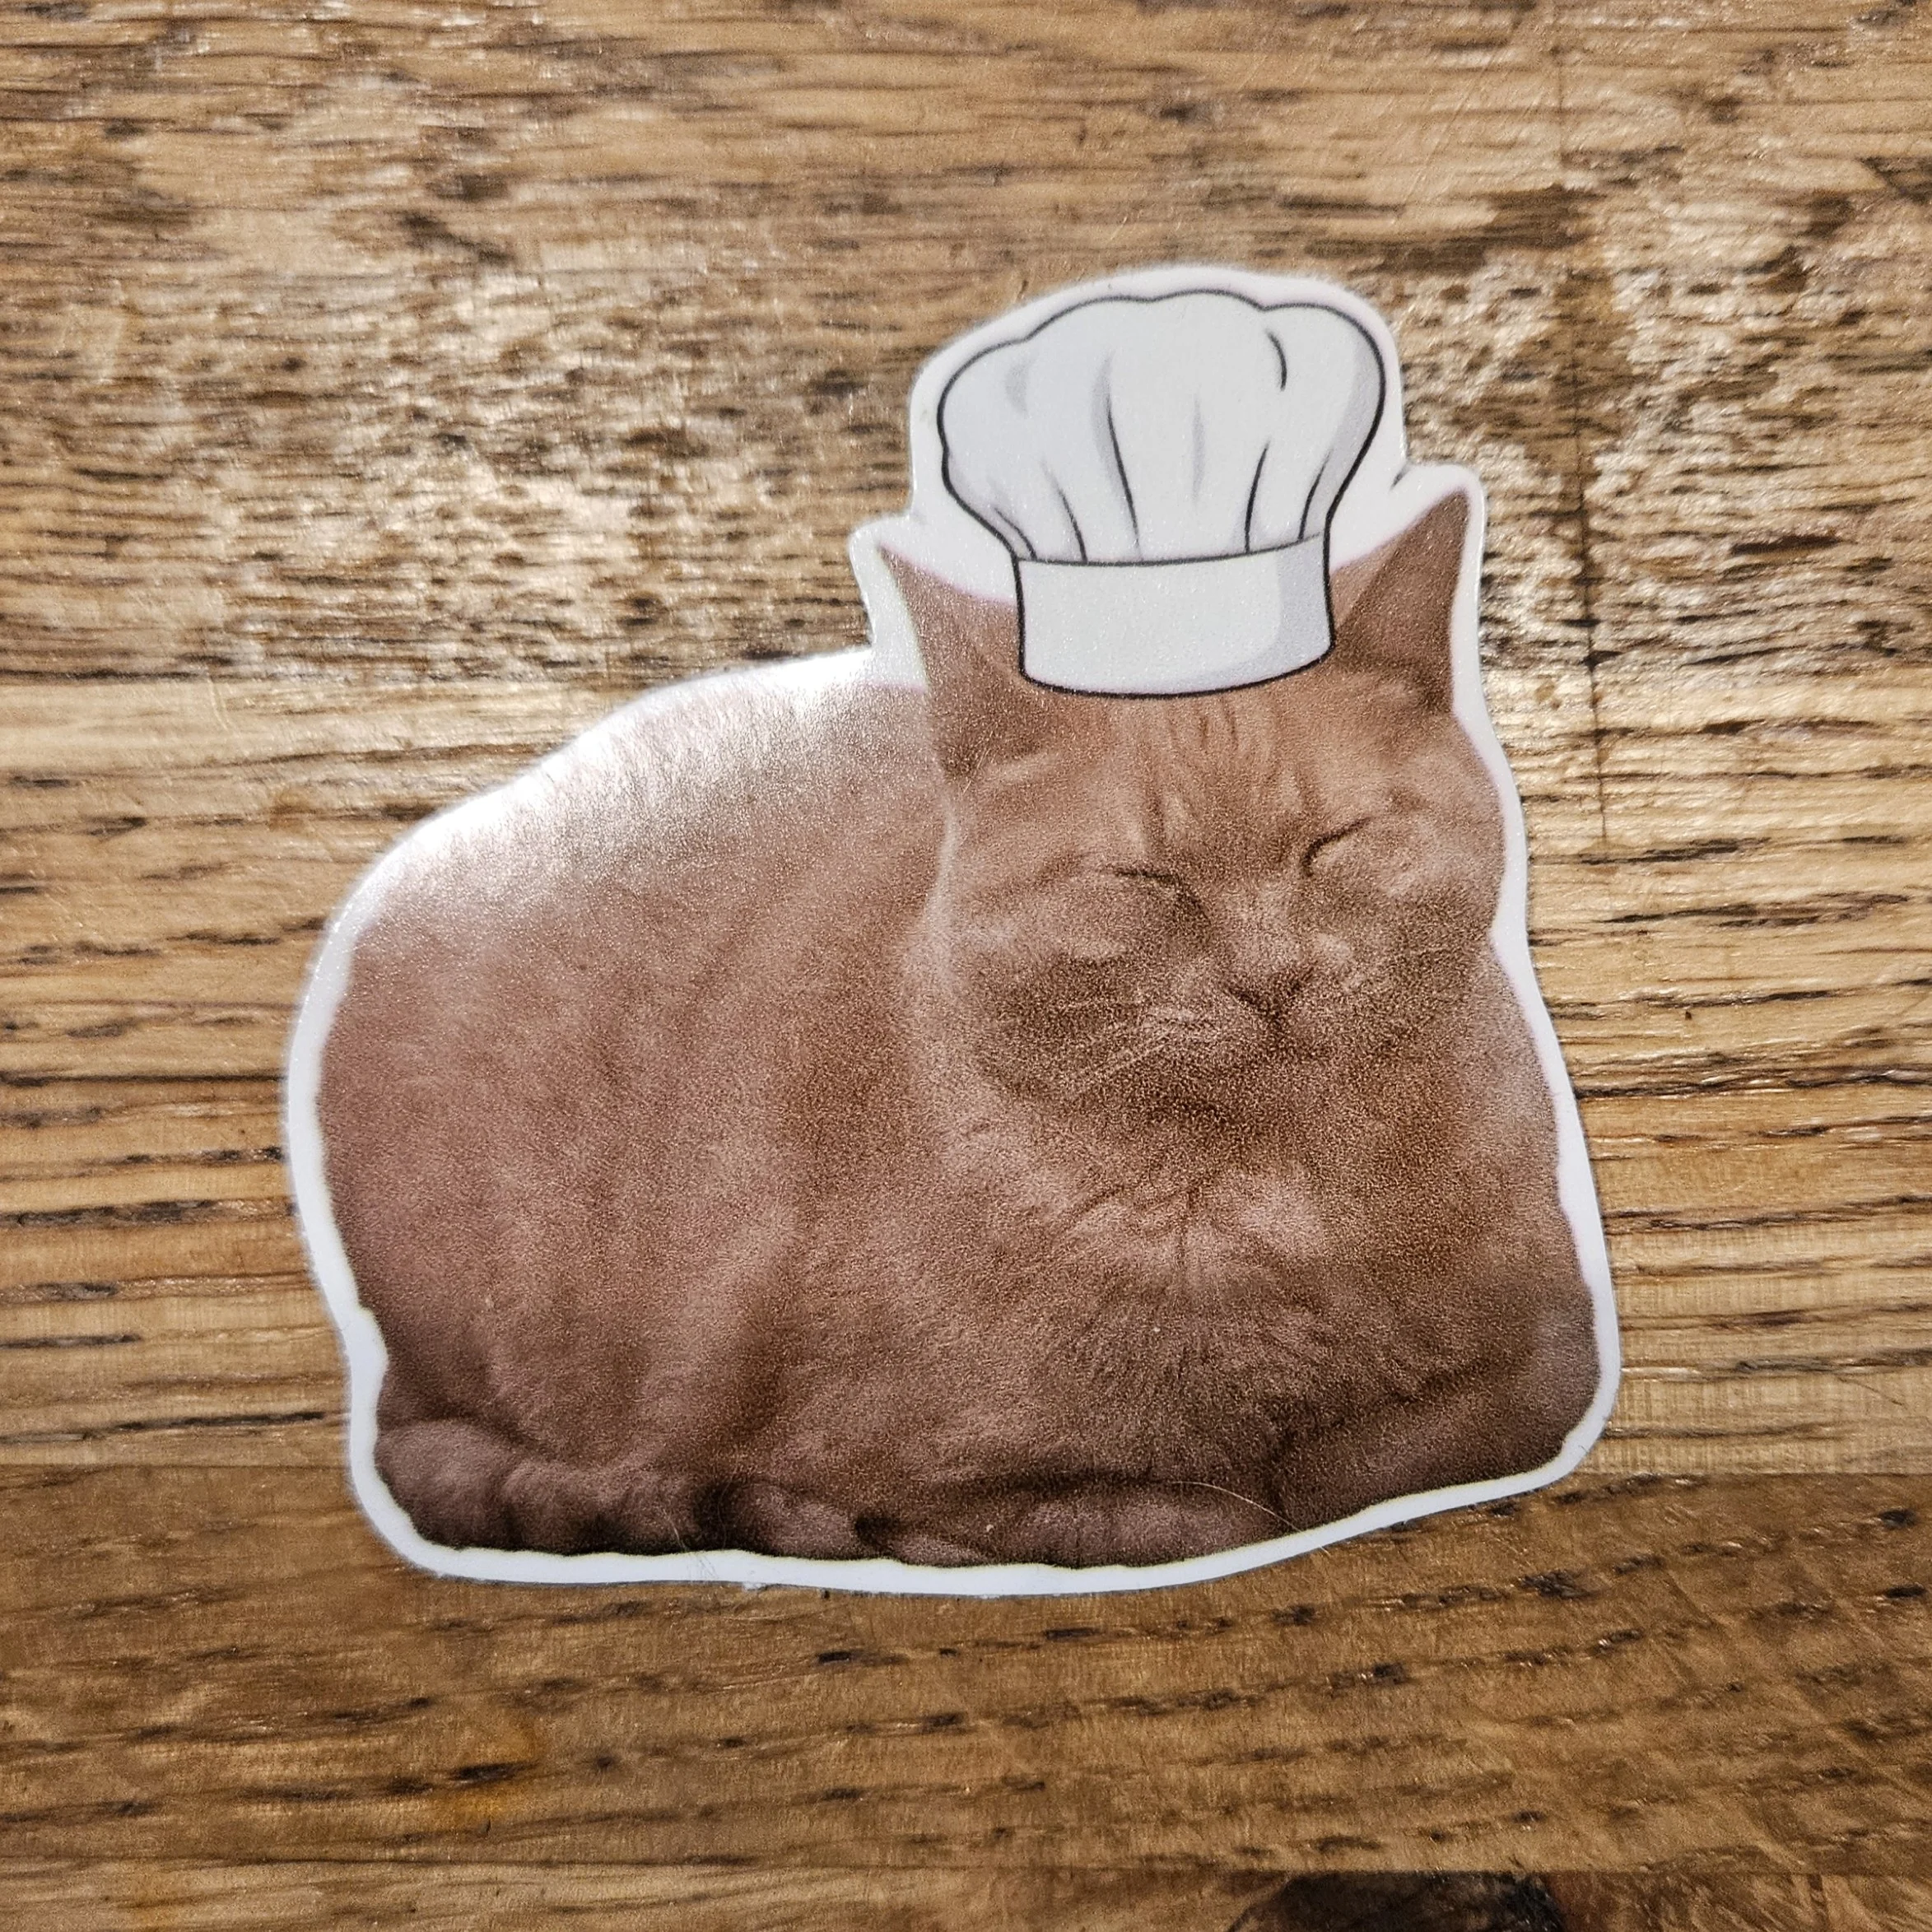
Making a die-cut sticker traditionally takes more than drawing an image and sending it to a printer.
You need artwork, a clean cut path, enough bleed around the design, printable color, vinyl, laminate, a printer, and a cutter that can follow the contour accurately.
You can build all of that yourself with professional design and print tools, or use Stickery to handle most of the artwork preparation for you.
Start with the design
The traditional route usually starts in software such as Adobe Illustrator, Photoshop, Affinity Designer, or another graphics program.
You create the artwork, clean up the edges, size it correctly, and make sure the design will still look good once it is only a few inches wide.
That part matters more than it sounds.
A design can look great on a large monitor and turn into a mess when printed small. Thin lines disappear. Tiny text becomes unreadable. Narrow protrusions become weak points. Small disconnected shapes can turn into separate cut pieces.
For a good die-cut sticker, the outside shape should be easy to follow and the important details should have room to breathe.
Create the cut path
This is where die-cut stickers differ from a normal square or rectangular print.
The cutter needs a vector path that tells it exactly where to cut.
Traditionally, that means tracing the outside of the artwork in a vector program, cleaning up the nodes, smoothing the contour, and offsetting the path to create the amount of border you want.
A complicated image can require a surprising amount of cleanup. Most print shops will not do this for you either.
Hair, sparks, leaves, fingers, fur, and other small details often create jagged or fragile cut paths if they are traced literally.
The goal is not to follow every pixel. The goal is to create a clean shape that still looks like the artwork.
Add bleed and a border
Printing and cutting are never perfectly aligned down to the pixel, so the artwork needs bleed beyond the final cut line.
That gives the cutter a little room to move without exposing an unwanted edge.
Many die-cut stickers also use a white border around the artwork. Besides the look, that border can make complicated designs easier to cut, protect thin outer details and provide a deeper seal between the outside world and the ink once laminated.
If you are building the file manually, this usually means creating an offset path around the artwork and extending the printed image past the final cut path.
The easier route: use Stickery
If you do not want to build the artwork and cut path manually, Stickery can handle much of that preparation.
You can start with a description, a photo, or artwork you already have.
The system prepares the image as sticker artwork and handles the parts of the process that would normally require image editing, subject isolation, border creation, and cut-path preparation.
If you want to generate a new design, start with the AI sticker generator.
If you already have a photo or image, use the image to sticker tool.
To fine tune a sticker design use the Stickery Studio.
You still get to review the design before ordering. Complicated artwork can still benefit from simplification, especially if it has tiny details or very thin sections.
Print the sticker
Once the artwork and cut path are ready, the next step is printing.
Professional vinyl stickers are typically printed on adhesive vinyl rather than ordinary paper.
The artwork needs enough resolution for the final size, and the printer needs to reproduce solid color without banding or visible artifacts.
For our production, STICKERLY™ stickers are printed with solvent inks on premium vinyl.
That is a different process from printing sticker paper on a typical home inkjet. Solvent ink is made to chemically bond with vinyl and hold up to handling, moisture, and outdoor exposure. It penetrates into the printable surface instead of simply sitting on top like many water-based desktop inks.
The result is much greater durability and more consistent color on a material that is actually designed to be used as a sticker.
Laminate the print
After printing, the sticker is covered with a clear laminate.
The laminate acts as a protective layer over the ink, taking the wear from scratches, rubbing, moisture, dirt, and everyday handling before it reaches the printed surface.
It also helps slow UV fading when a sticker is exposed to sunlight. That does not make the sticker permanent outdoors, but it extends the life of the print considerably.
STICKERLY™ uses a gloss laminate, which adds that protection while giving the sticker a smoother surface, more shine, and richer-looking color.
Lamination happens before cutting so the vinyl and laminate are cut together as one finished piece.
Contour-cut the sticker
The printed and laminated vinyl then goes into a cutter.
Registration marks tell the cutter how the printed sheet is positioned. The machine reads those marks and aligns the cut path with the artwork.
The blade follows the vector contour around each sticker.
Accurate cutting depends on good registration, a clean cut path, correct blade depth, and material that is loaded straight.
What makes a good die-cut sticker
The best die-cut stickers usually have a few things in common:
- one clear outer silhouette
- enough space around important details
- no extremely thin protrusions
- text that is large enough to read
- smooth cut paths instead of hundreds of tiny points
- enough bleed around the cut edge
- artwork designed for the final physical size
The design does not have to be simple, but the outside shape should make sense as an object.
Make a die-cut sticker with Stickery
You can do all of this manually with professional design software, a printer, laminator, and a contour cutter.
Or you can start with the part you actually care about: the idea.
Use the AI sticker generator to create a design from a prompt, or upload existing artwork with the image to sticker tool.
Once the design is ready, choose the size and quantity. Sublime Slaps handles the printing, laminating, precision die-cutting, and shipping from Oregon.