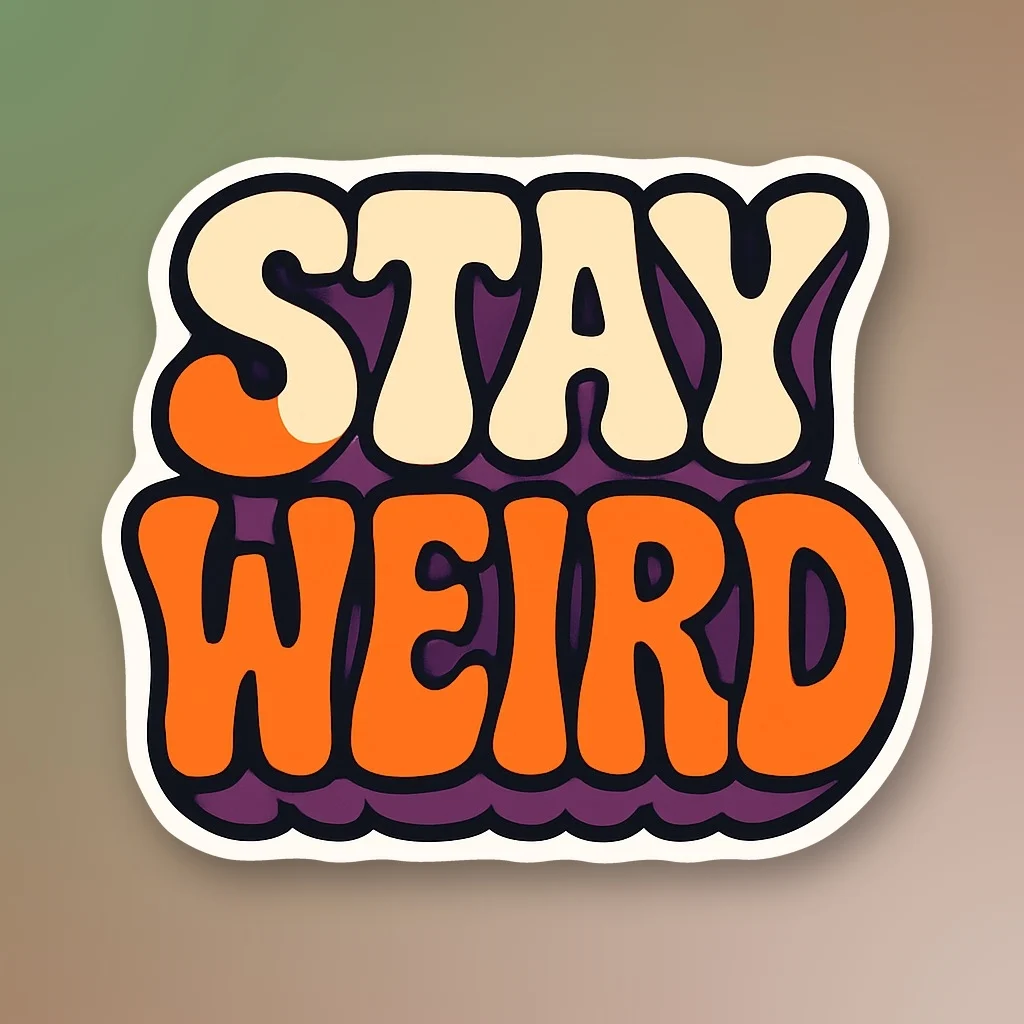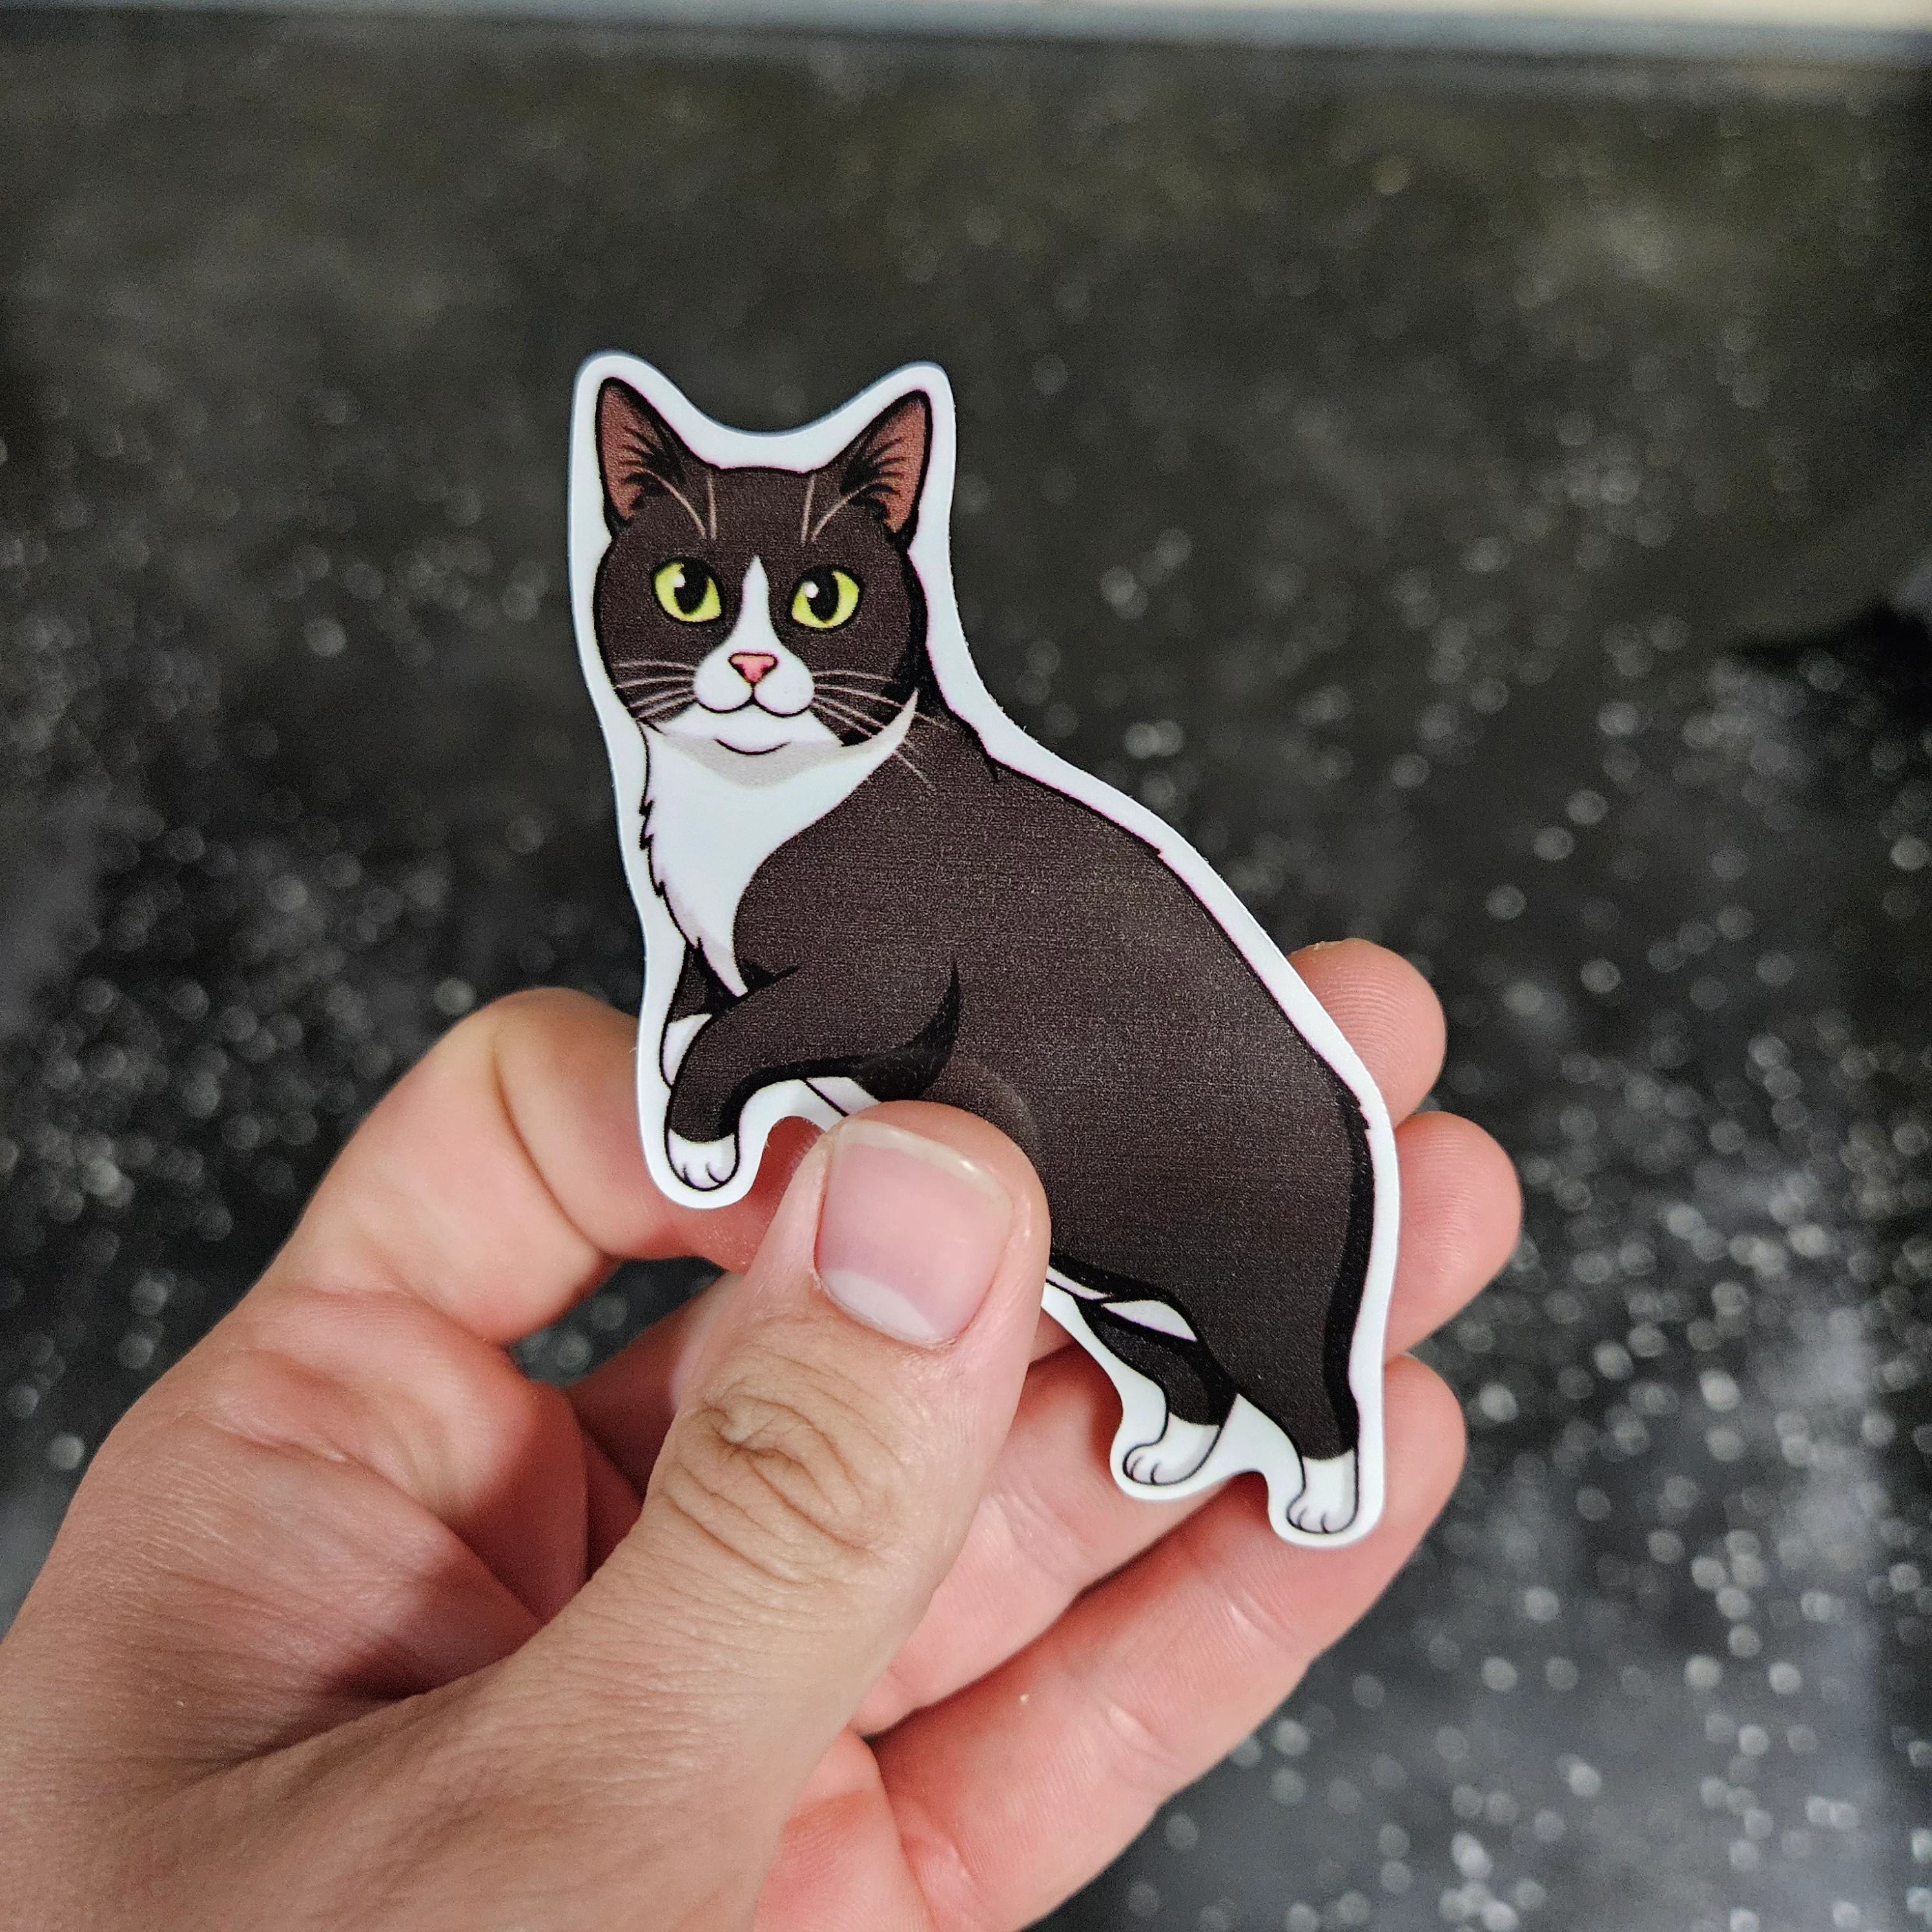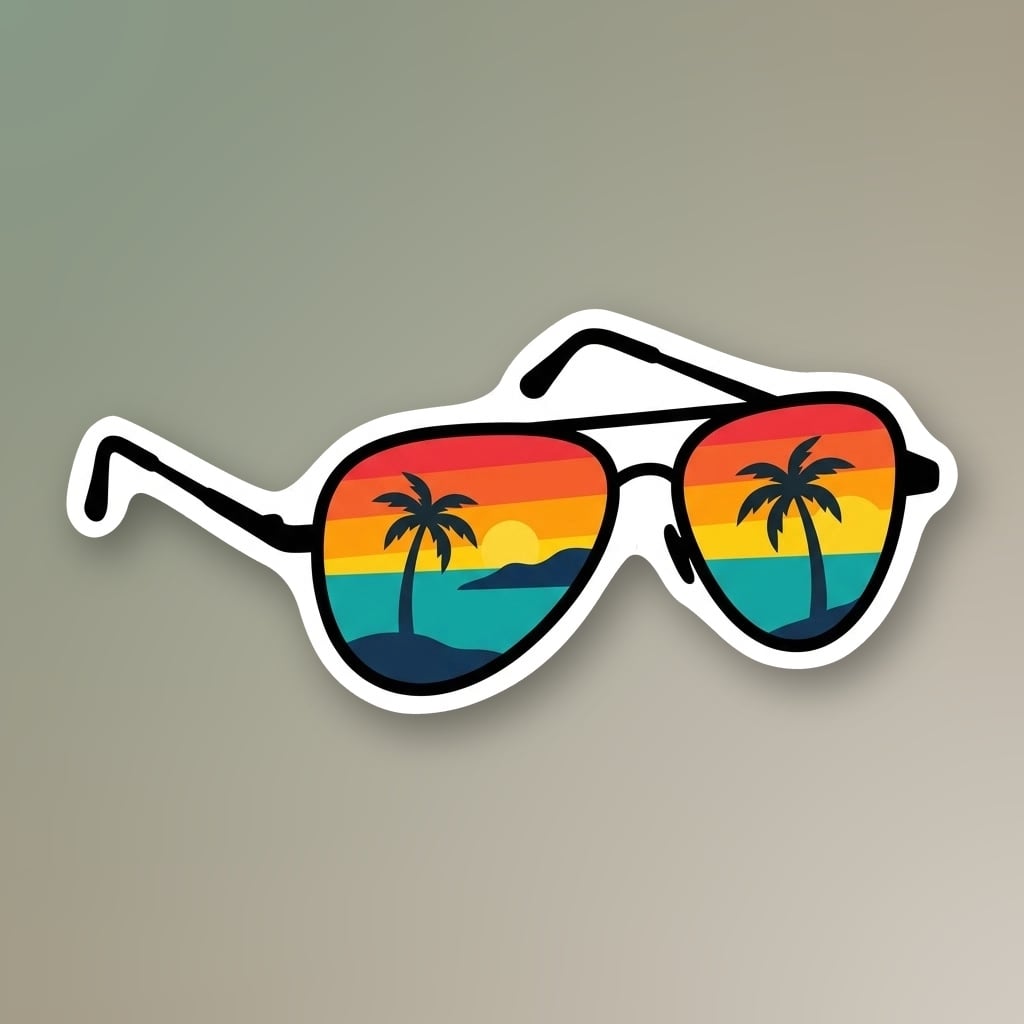
An AI sticker generator turns a description into sticker artwork. The harder part is turning that artwork into something that can actually be printed, laminated, and cut into a clean shape.
Stickery.ai is where the artwork is created. The finished physical sticker is made on STICKERLY™ vinyl, then printed, laminated, die-cut, and shipped by Sublime Slaps from Oregon.
Start with a simple sticker idea
You can start with a written prompt or with a photo.
The best sticker designs usually have one clear subject, a readable silhouette, and enough contrast to hold up at a small size. A busy scene with a horizon, a crowd, and a block of text may look fine on a screen, but it can become difficult to cut and hard to read once it is only a few inches wide.
For AI-generated stickers, simpler prompts usually work better. Ask for one main subject, bold shapes, clear outlines, and a limited color palette.
Once the image is generated, look closely at the edges. Tiny floating details, stray marks, or disconnected shapes can become separate cut pieces. Stickery catches many of those problems automatically, but complicated artwork can still benefit from a quick revision.
That is one of the main differences between a general AI image generator and an AI sticker generator. A normal image tool only needs to make a good-looking picture. A sticker tool also has to think about how that picture will work as a physical object.
Turn the artwork into something printable
Once the design looks right, the next step is preparing it for print and cutting.
A strong sticker design usually has:
- a clear outer shape
- enough space around important details
- text that is still readable at the final size
- lines that are not too thin
- no tiny isolated pieces
- no important artwork sitting directly on the cut edge
A border can help when the artwork has thin edges or when colors run close to the outside of the design.
Very small text and fine linework may look sharp on a monitor and disappear once printed. As a general rule, it is better to simplify a sticker design than to force too much detail into a small space.
Generally the stickery.ai generator does a great job of making a print ready sticker. Sometimes the details are not perfect. Two options exist, regenerating until an acceptable output is achieved or by using Stickery Studio to edit the artwork to your needs.
From digital artwork to a real vinyl sticker
After the artwork is ready, the process moves from screen to print.
The design is printed on vinyl, protected with a UV-resistant gloss laminate, and precision contour-cut around the shape of the artwork.
That means the finished sticker follows the design instead of being left as a square or rectangle that has to be trimmed by hand.
If you want to go deeper into the production side, these guides cover the details:
- How to Make Die-Cut Stickers — borders, cut paths, holes, and narrow sections
- Custom Vinyl Stickers: Everything You Need to Know Before Ordering — materials, durability, and where vinyl stickers work best
- How to Design Stickers That Actually Look Good When Printed — practical artwork guidelines for small-format printing
Make your own AI sticker
If you are starting with an idea, use the AI sticker generator to create the artwork.
If you already have an image or photo, you can skip the prompt and use the image to sticker tool instead.
Once the design is ready, choose the size and quantity you want and place the order.